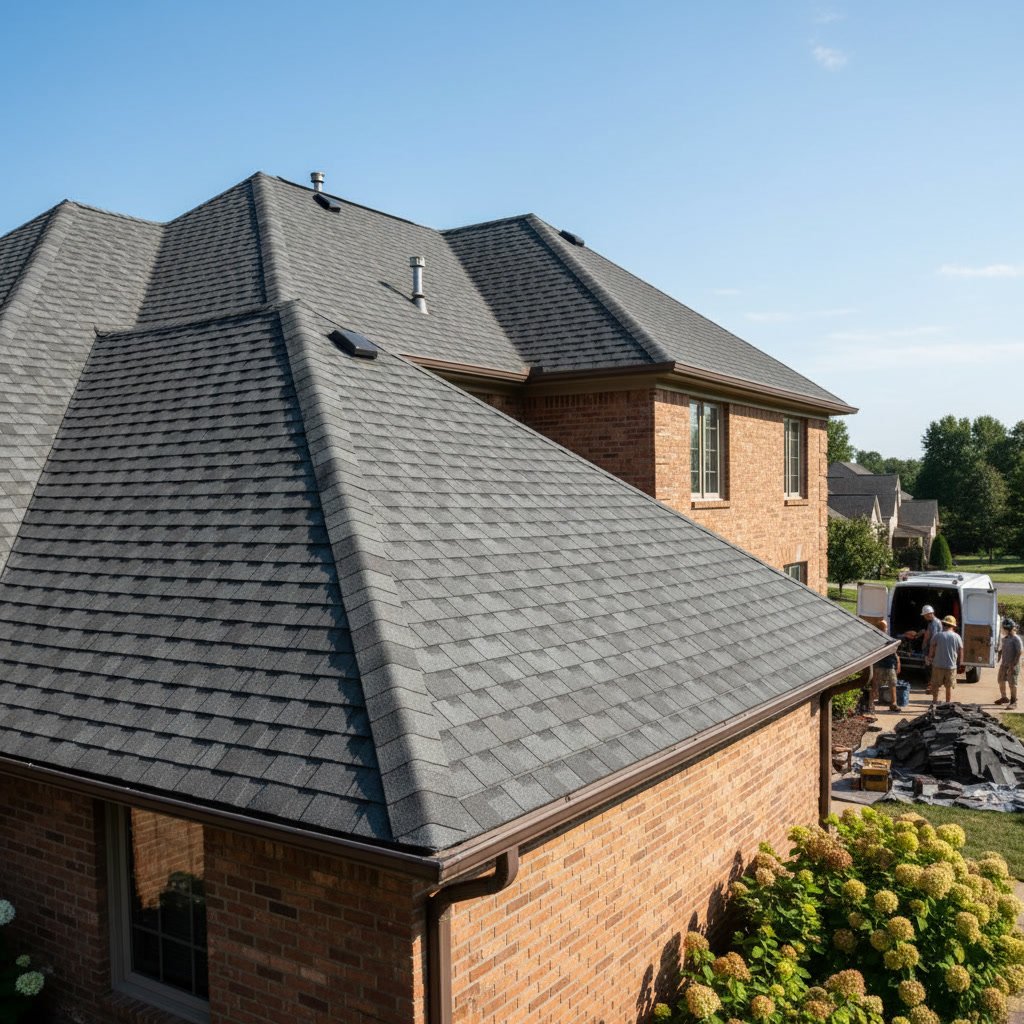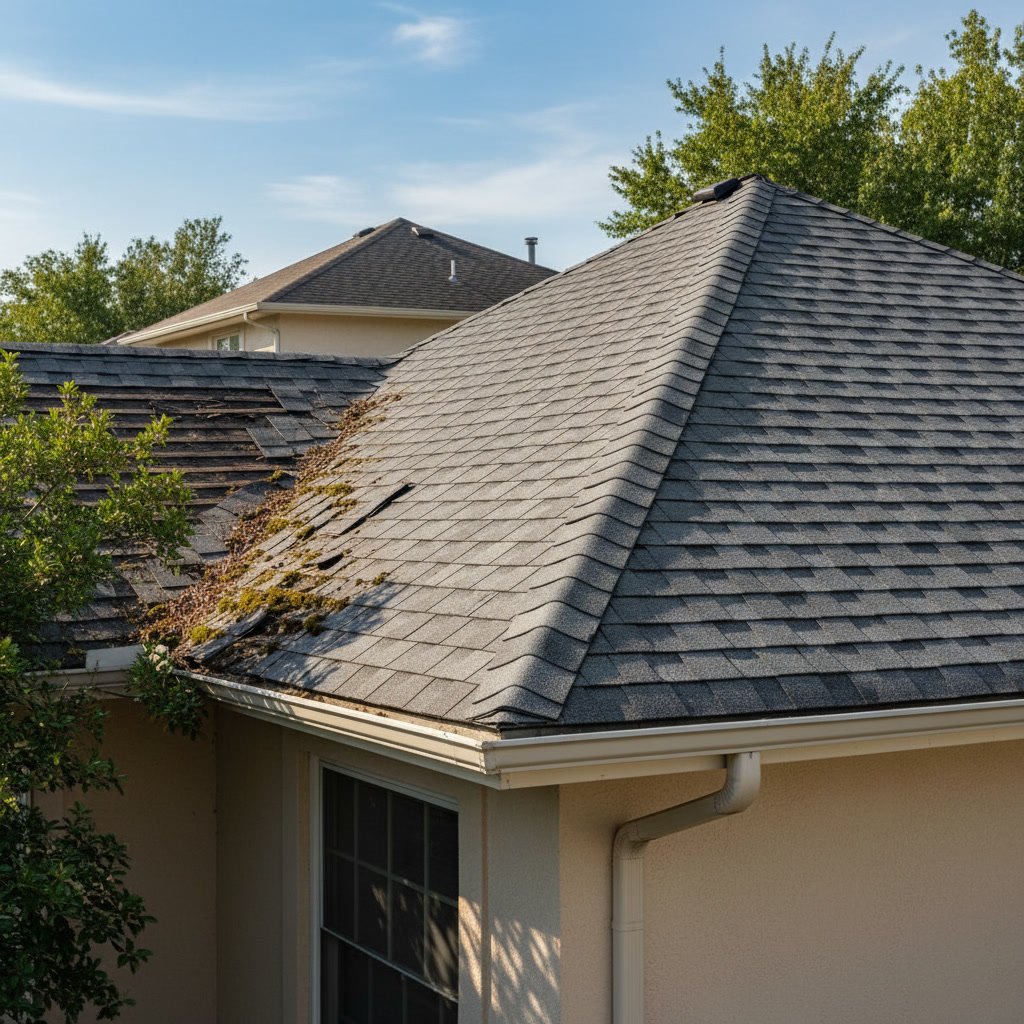
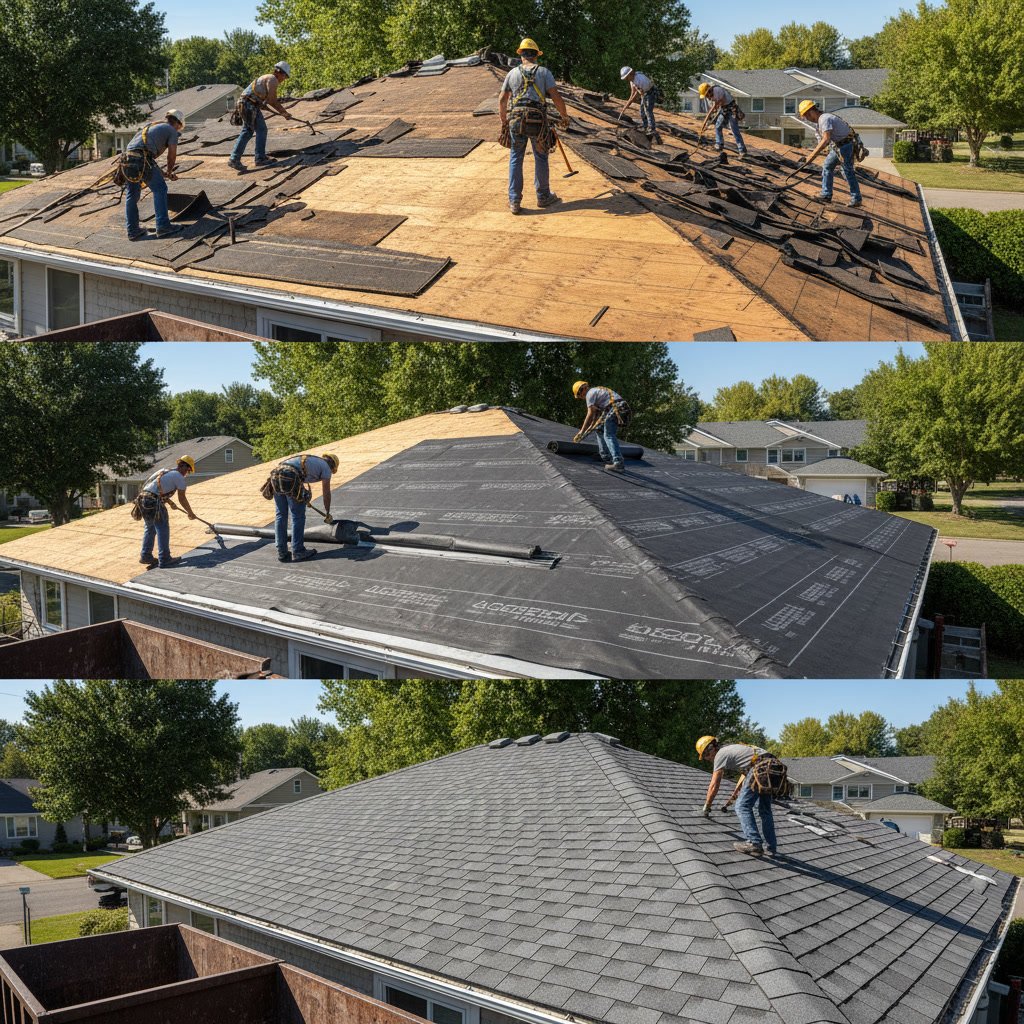
A roof replacement typically follows eight major phases: initial inspection and estimate, material selection and ordering, property preparation, old roof removal, deck inspection and repair, new roof installation, cleanup, and final walkthrough. Understanding the roof replacement process steps helps you prepare your property, set realistic expectations, and communicate effectively with your roofing contractor throughout the project.
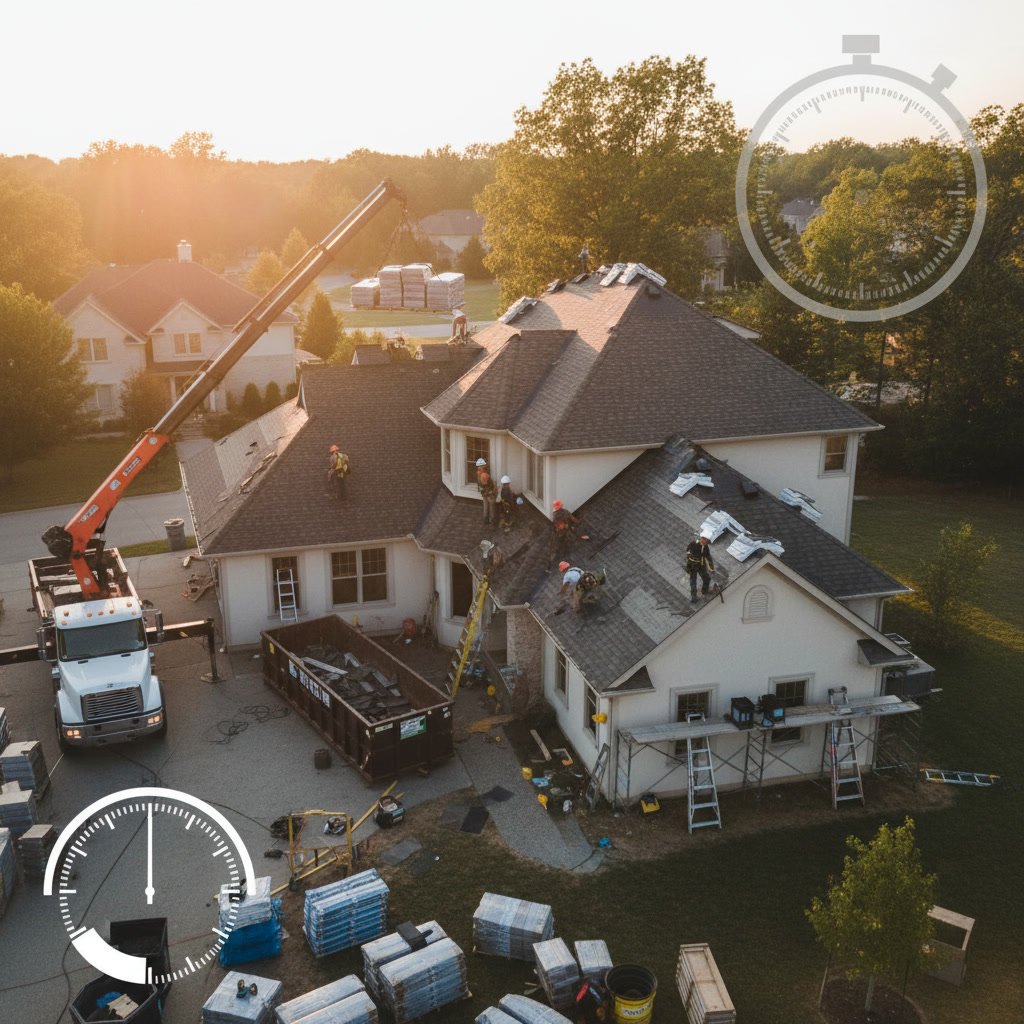
Most residential roof replacements take between two to five days, depending on the roof size, complexity, pitch, and weather conditions. Commercial projects or homes with multiple stories may extend this timeline significantly.
The success of your project depends heavily on proper execution at each stage. Skipping steps or rushing through critical phases can compromise the lifespan and performance of your new roof.
Why Roof Replacement Requires Professional Planning
Unlike minor repairs that address isolated damage, a complete roof replacement transforms your home’s primary weather barrier in one coordinated project. Professional contractors develop detailed project plans that account for material lead times, weather windows, crew scheduling, and property protection measures.
Planning begins weeks before the first shingle is removed. Your contractor orders materials based on precise measurements, arranges for dumpster delivery, pulls necessary permits, and schedules inspections. Homeowners who understand this upfront planning phase can better coordinate their own schedules and prepare their properties.
The Initial Inspection and Project Estimate
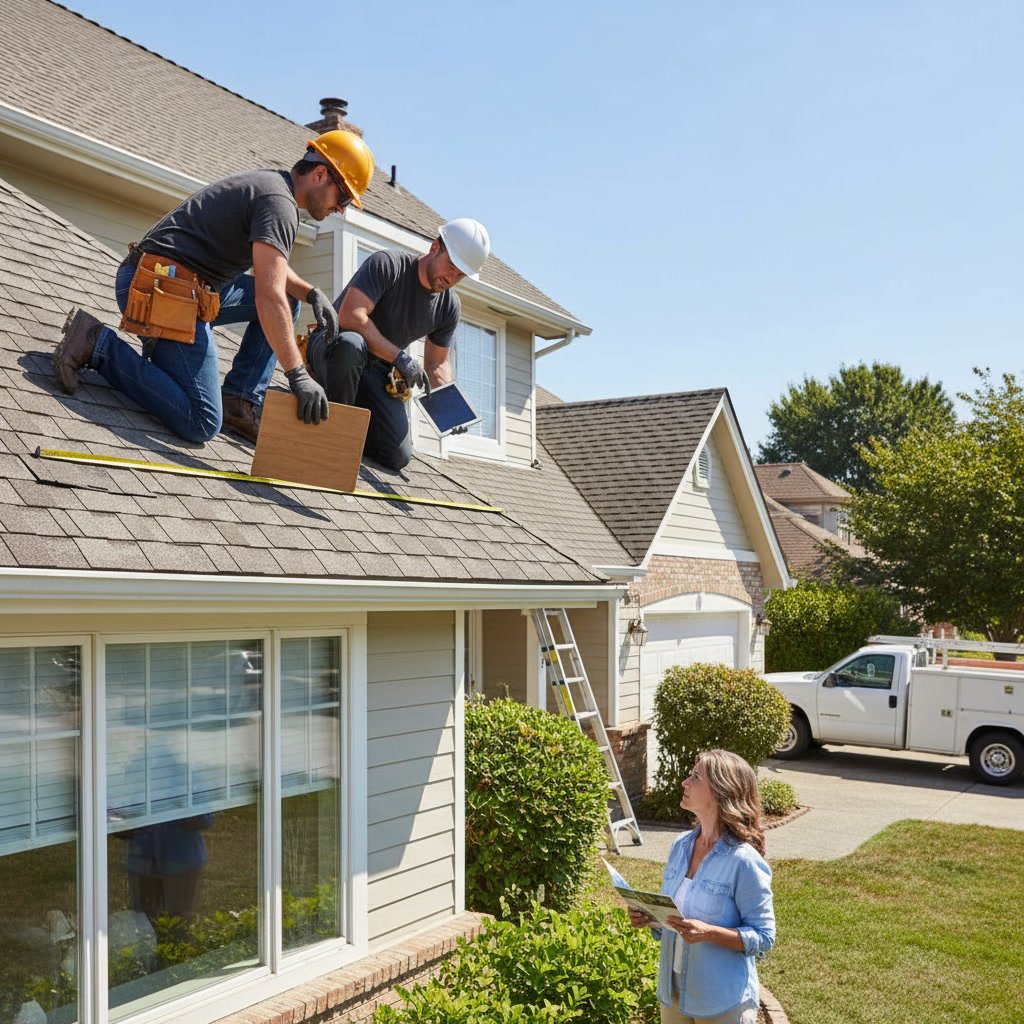
Every quality roof replacement begins with a thorough inspection of your existing roof. The contractor examines the roof deck condition from inside the attic, checks for adequate ventilation, measures roof dimensions, notes the pitch and complexity, and identifies any structural concerns that might affect installation.
This inspection determines which roofing services you actually need. Sometimes what appears to be a full replacement candidate can be extended with strategic repairs. The inspection also reveals hidden issues like rotted decking or inadequate ventilation that must be addressed during the project.
Your contractor provides a detailed written estimate that breaks down material costs, labor, disposal fees, and any additional work like deck repairs or ventilation upgrades. This transparency helps you budget accurately and avoid surprise expenses mid-project.
Choosing Your Roofing Materials
Material selection significantly impacts both the project timeline and long-term performance. Your choices include traditional asphalt shingles, architectural shingles, metal panels, tile, or specialty materials. Each option offers different lifespans, warranties, aesthetic qualities, and price points.
Many San Antonio area homeowners now consider metal roofing for its exceptional durability in Texas heat and storm conditions. Metal roofs typically last 40 to 70 years compared to 20 to 30 years for quality shingles. The material choice affects installation methods, crew size, and project duration.
Your contractor orders materials based on your selections, adding 10 to 15 percent extra to account for waste, cuts, and complex areas. Premium materials may have longer lead times, so early decisions keep your project on schedule.
Preparing Your Property for Roof Work in New Braunfels
Two to three days before installation begins, you should prepare your property to protect landscaping, vehicles, and belongings. Move cars out of the driveway and away from the house perimeter. Falling debris, nails, and materials can damage vehicles even when crews exercise caution.
Trim back tree branches within 10 feet of the roof to give crews safe access and prevent damage to new materials. Cover or move patio furniture, grills, and decorative items. Vibrations from roof work can knock pictures off walls inside your home, so secure or remove fragile items from shelves and walls.
Notify your neighbors about the project timeline. Roof replacement generates noise, dust, and temporary disruptions. Most neighbors appreciate advance warning, especially if they work from home or have young children.
Removing the Old Roofing System
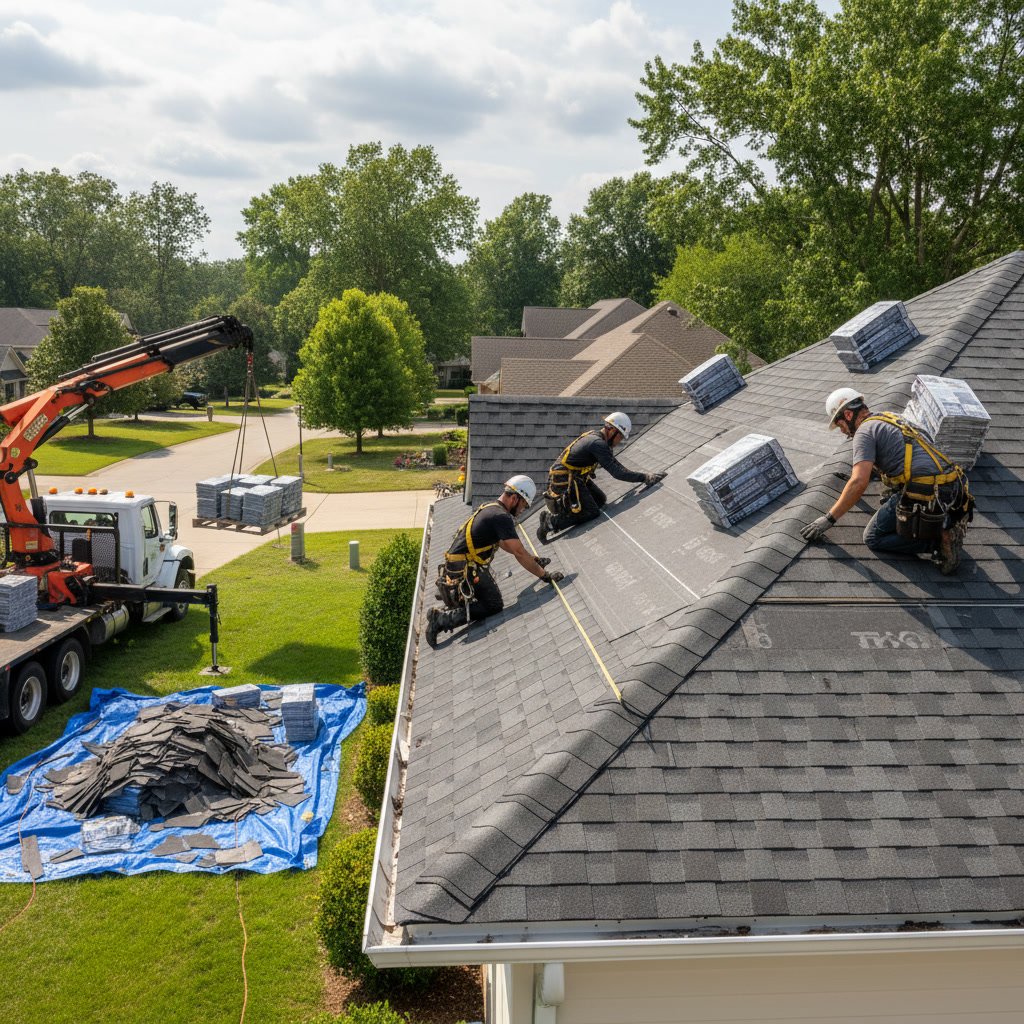
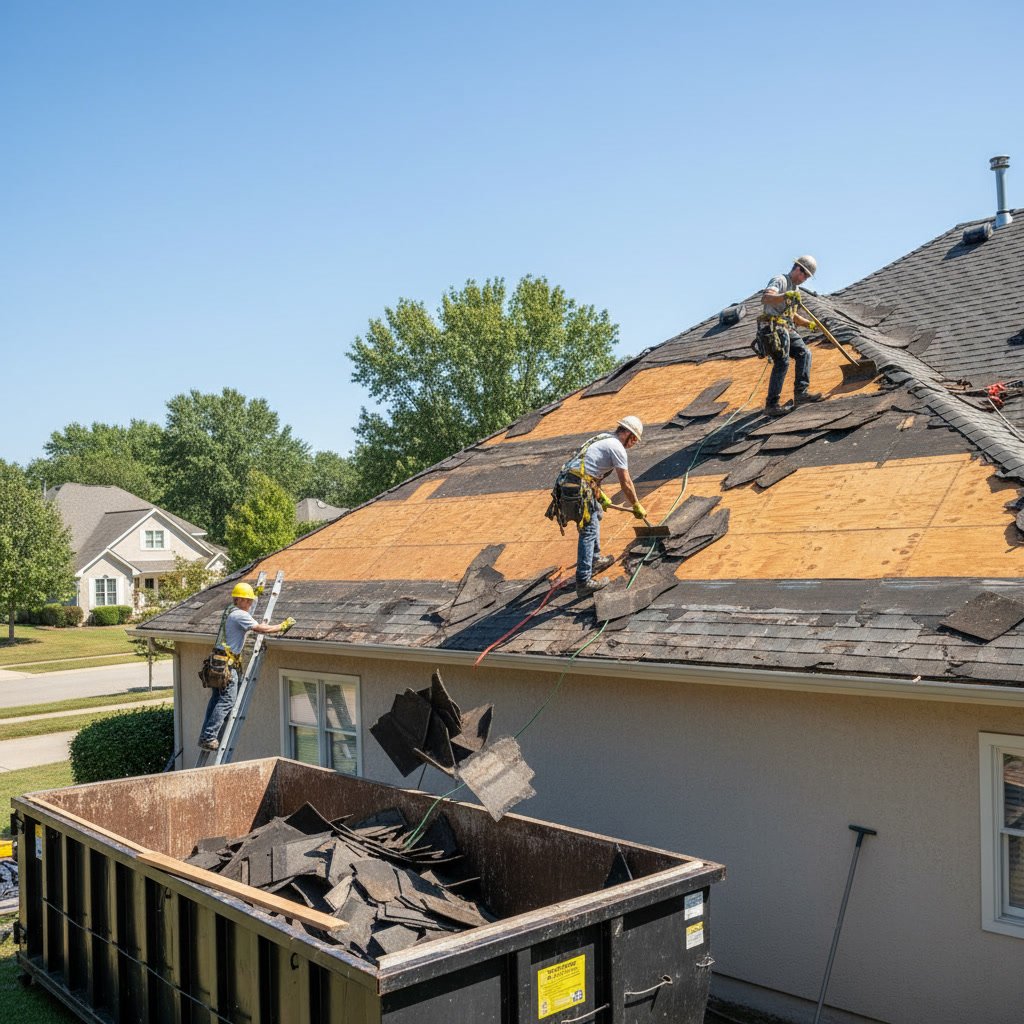
Tear-off typically begins early in the morning to maximize daylight working hours. Crews systematically remove old shingles, underlayment, flashing, and any deteriorated materials down to the roof deck. This process is loud and creates significant vibration throughout the house.
Professional crews work in sections, exposing only manageable areas to minimize weather vulnerability. They install tarps in case of unexpected rain and work efficiently to keep your home protected. Shingles and debris go directly into dumpsters or onto tarps for organized disposal.
Complete removal is essential for proper installation. Some contractors offer overlay installations where new shingles go over old ones, but this approach hides deck problems, adds excessive weight, and typically voids manufacturer warranties.
Inspecting and Repairing the Roof Deck
Once the old materials are removed, the roof deck becomes visible for thorough inspection. Quality contractors examine every section for rot, water damage, structural weakness, and code compliance. This is the only opportunity to address hidden problems before they compromise your new roof.
Damaged or rotted plywood or OSB panels must be replaced. Soft spots, sagging areas, or sections with visible water stains all indicate deck problems that require repair. Most estimates include an allowance for expected deck repairs, but extensive damage may require additional materials and labor.
The deck inspection also verifies proper ventilation. Inadequate attic ventilation causes premature shingle failure, ice damming in cold climates, and excessive cooling costs. Your contractor may recommend adding ridge vents, soffit vents, or other attic insulation and ventilation upgrades during this phase.
Installing the New Roofing System
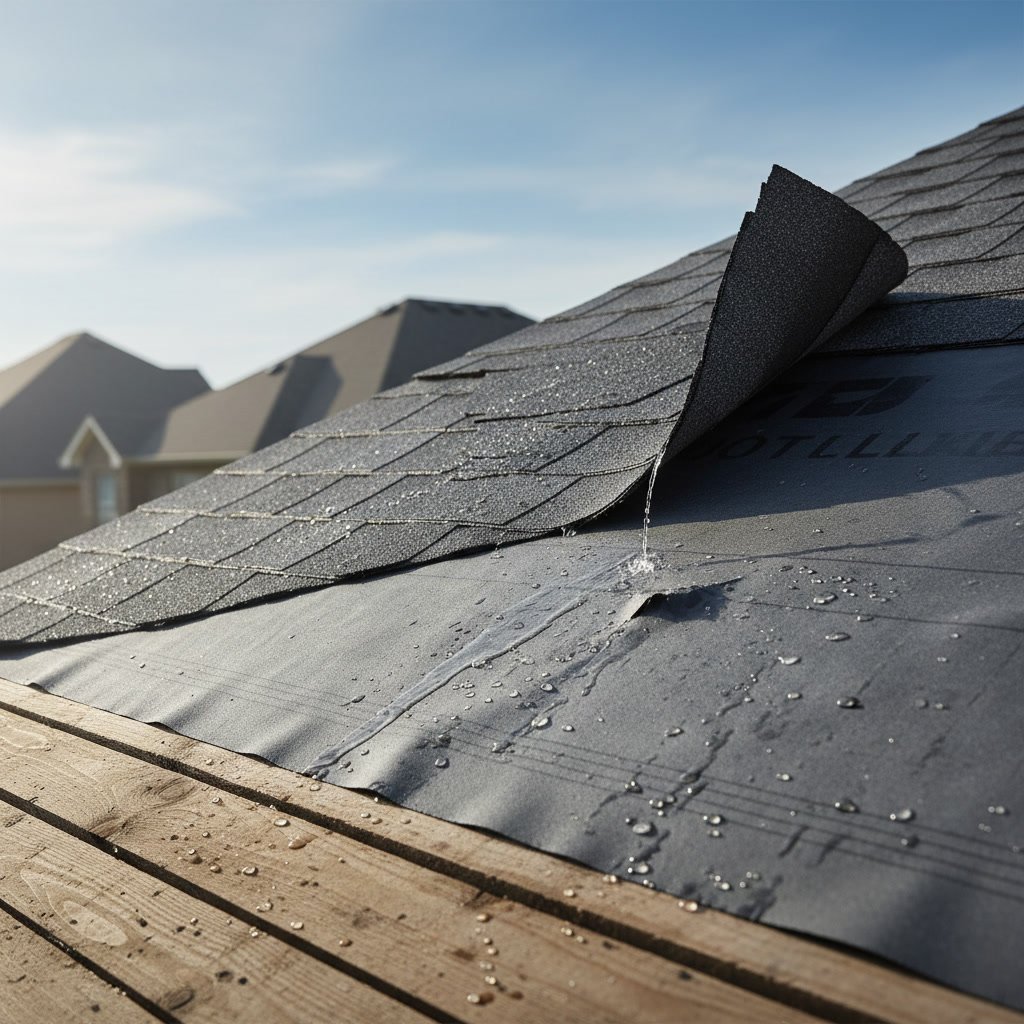
Installation follows a precise sequence designed to create a watertight, durable roof system. Crews begin with ice and water shield in valleys and along eaves, then roll out synthetic underlayment across the entire deck. This underlayment serves as a critical secondary water barrier.
Next comes flashing installation around chimneys, vents, skylights, and wall intersections. Proper flashing prevents the most common leak points on any roof. Metal flashing must be carefully shaped, sealed, and integrated with the roofing material for complete protection.
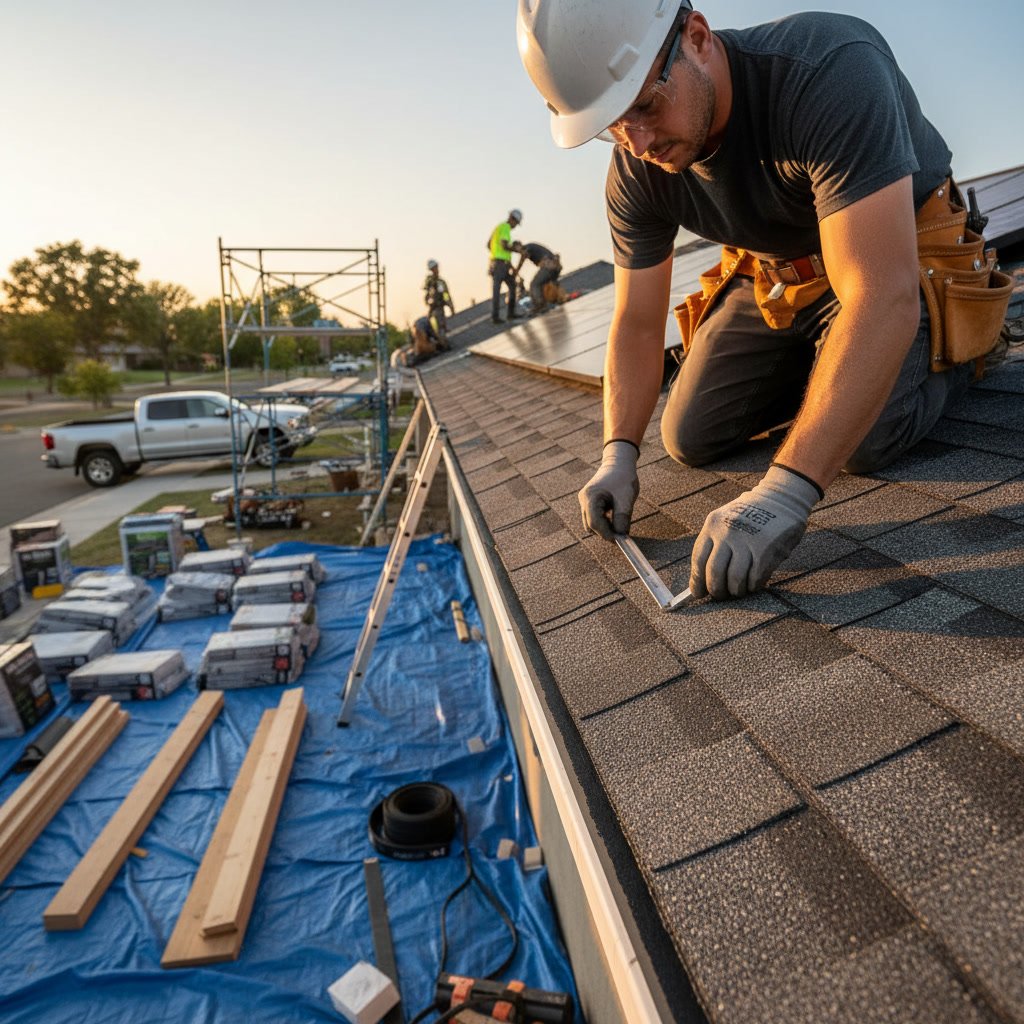
The actual shingle or panel installation begins at the eaves and works upward. Each course overlaps the one below it, creating a shingled pattern that sheds water effectively. Experienced installers maintain proper nail placement, exposure, and alignment to ensure warranty compliance and optimal performance.
Ridge caps, hip caps, and edge trim complete the installation. These finishing details protect vulnerable roof edges and create the clean appearance that defines quality workmanship. Many manufacturers require specific installation methods for warranty validation, which professional crews follow precisely.
Quality Checks That Protect Your Investment
Reputable contractors perform multiple quality checks throughout installation. Crew leaders verify proper nailing patterns, adequate sealant application, and correct flashing integration at each phase. These ongoing inspections catch and correct errors before they become permanent problems.
After installation completion, a final inspection examines the entire roof for missed nails, improper seals, damaged shingles, and aesthetic issues. The contractor also inspects gutters, siding, and landscaping for any damage caused during the project.
Many jurisdictions require municipal inspections for roof replacements. Your contractor schedules this inspection and accompanies the inspector to address any questions or concerns. Passing inspection validates that work meets local building codes and manufacturer specifications.
Site Cleanup and Magnetic Sweeps
Professional cleanup goes far beyond simply hauling away the dumpster. Crews walk the entire property with magnetic rollers that pick up nails, staples, and metal debris. Roofing nails can puncture tires, injure pets, and create safety hazards for months if not properly removed.
Most contractors perform at least two magnetic sweeps: one immediately after tear-off and another after installation completion. They inspect gutters, landscaping beds, driveways, and walkways for fallen materials. Responsible contractors leave your property cleaner than they found it.
Leftover materials should be removed unless you specifically request to keep items like extra shingles for future repairs. The dumpster removal typically happens the same day as project completion, eliminating the eyesore from your property promptly.
The Final Walkthrough and Documentation
Before the project concludes, your contractor conducts a detailed walkthrough with you. This is your opportunity to ask questions, understand your new roof’s features, and verify that all agreed-upon work was completed to your satisfaction.
Your contractor provides essential documentation including manufacturer warranties, workmanship warranties, installation photos, maintenance guidelines, and care instructions. Keep these documents with your home records. Future buyers will value this documentation when you sell your property.
Understanding proper maintenance extends your roof’s lifespan significantly. Your contractor should explain inspection frequency, gutter cleaning importance, and signs that warrant professional attention. Regular maintenance after installation protects your investment for decades.
Getting the Most From Your New Roof
A professionally installed roof represents a significant investment that protects your home and increases property value. The systematic approach outlined in these roof replacement process steps ensures quality results that meet manufacturer specifications and local building codes.
Working with experienced contractors who follow these proven procedures gives you confidence throughout the project. Each phase builds on the previous one, creating a complete roofing system that performs reliably in all weather conditions.
Sky Metal Roofing LLC brings extensive experience to every roof replacement and installation project. Our licensed, family-owned team serves homeowners throughout the San Antonio area with professional craftsmanship and transparent communication. Whether you need a complete replacement or want to explore your options, we provide detailed estimates and answer every question. Contact Sky Metal Roofing LLC at +12104120026 to schedule your free roof inspection and discuss your project timeline.